


Let’s be real—most tutorials overcomplicate neural networks.
If you’re new to AI, drowning in math, jargon, or frameworks, here’s the antidote: build your first neural network in 10 minutes, even if you’ve never touched machine learning before.
No fluff. Just the core idea—humanized, demystified, and actionable.
What You’ll Build
You’ll create a simple feedforward neural network using Python and TensorFlow/Keras.
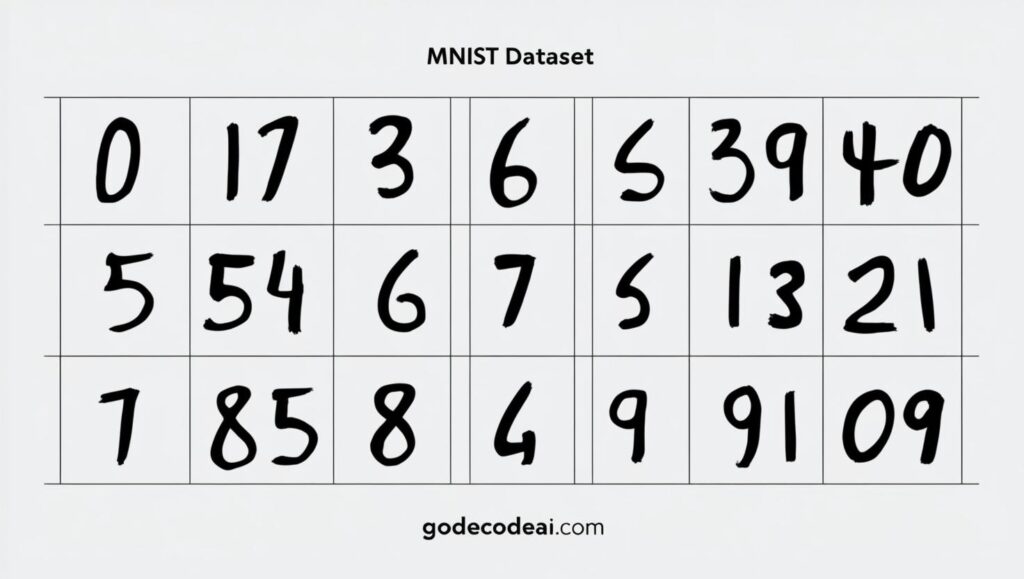
Goal: Teach a neural network to classify handwritten digits (0–9) using the MNIST dataset.
If that sounds complex—don’t worry. It’s beginner-friendly and visual.
What You Need
- Basic Python knowledge (functions, variables, loops)
- Python installed (3.8+)
- Internet connection
- 10 minutes of focus
Optional: Jupyter Notebook or Google Colab (recommended)
Step 1: Install TensorFlow
Open your terminal or notebook and run:
pip install tensorflow
✅ Done. You now have access to deep learning’s most beginner-friendly library.
Step 2: Load the Data
import tensorflow as tf
from tensorflow.keras.datasets import mnist

(x_train, y_train), (x_test, y_test) = mnist.load_data()
This gives you 70,000 grayscale images of handwritten digits. Each is 28×28 pixels.
Step 3: Normalize the Images
Neural nets train faster when data is scaled.
x_train = x_train / 255.0
x_test = x_test / 255.0
✅ Done. Now values range between 0 and 1.
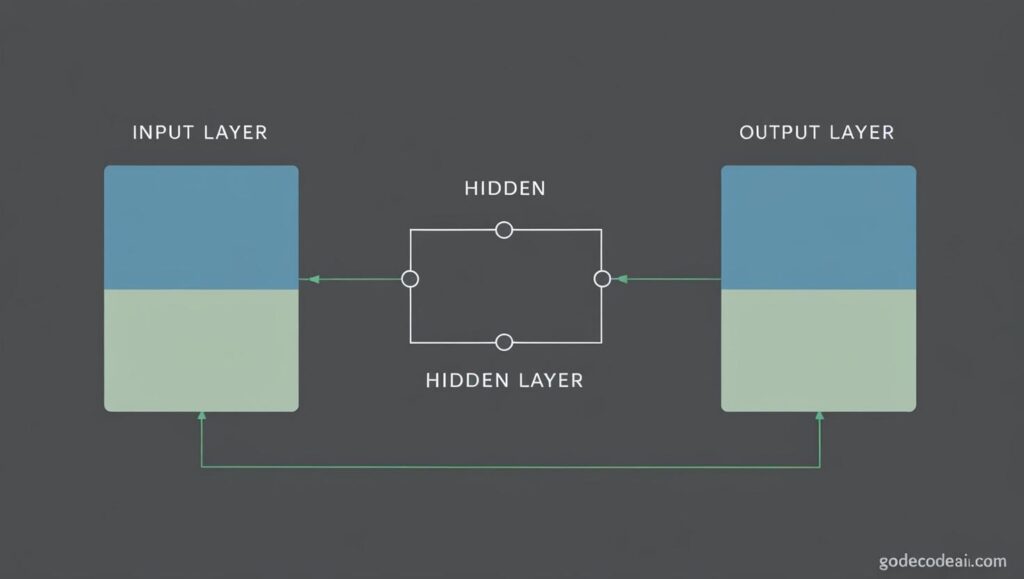
Step 4: Build Your First Neural Network
model = tf.keras.models.Sequential([
  tf.keras.layers.Flatten(input_shape=(28, 28)),
  tf.keras.layers.Dense(128, activation='relu'),
  tf.keras.layers.Dense(10, activation='softmax')
])
What’s happening:
Flatten: Turns 28×28 into a 784-element arrayDense(128): First hidden layer with 128 neurons and ReLU activationDense(10): Output layer with 10 neurons (0–9), softmax gives probabilities
Step 5: Compile the Model
model.compile(optimizer='adam',
              loss='sparse_categorical_crossentropy',
              metrics=['accuracy'])
✅ You’ve set up training rules. Think of this as defining “how to learn.”
Step 6: Train It
model.fit(x_train, y_train, epochs=5)
This takes about 15–30 seconds per epoch on most laptops.
After 5 epochs, you’ll likely see accuracy over 97%.
Step 7: Test It
model.evaluate(x_test, y_test)
You’ll get test accuracy—how well your model generalizes to unseen data.
You Just Built an AI

Let that sink in.
With 15 lines of code, you created a neural network that learned to recognize handwritten digits with high accuracy.
Not bad for 10 minutes.
What’s Next?
Once you’ve nailed this, you can:
- Add more layers or neurons
- Use convolutional layers (CNNs)
- Train on other datasets (e.g., CIFAR-10)
- Explore model saving and deployment
The possibilities are endless—but this was your first step from zero to AI hero.
FAQs
Q: Do I need to understand the math behind neural networks first?
No. Start building first. Curiosity will naturally lead you to the math.
Q: Will this work on a normal laptop?
Yes. MNIST is small and runs fast—even without a GPU.
Q: What is the difference between Keras and TensorFlow?
Keras is a high-level API that runs on top of TensorFlow. Think of it as the user-friendly layer.
Q: What’s the best way to go deeper?
Try variations of the model. Then explore convolutional networks and real-world datasets.