AI sounds intimidating. It’s not. With the right steps, you can write your first AI script today—even if you’re just starting out.
Let’s strip away the mystery and build your first AI project in Python. No fluff. Just real code, explained like you’re learning from a mentor who’s been where you are.
Step 1: Know What You’re Building (Keep It Simple)

We’re building a basic AI that classifies text as positive or negative—aka a sentiment analyzer. You feed it text. It tells you whether the tone is happy or angry.
This uses machine learning—specifically a Naive Bayes classifier from scikit-learn. Don’t worry, we’ll walk through everything.
Step 2: Set Up Your Environment

Before writing any code, install the right tools. Open your terminal or command prompt and run:
pip install scikit-learn pandas
That’s it. You’re ready.
Step 3: Write the AI Script

Here’s your full working script. Copy and paste it into a new Python file (sentiment_ai.py).
from sklearn.model_selection import train_test_split
from sklearn.feature_extraction.text import CountVectorizer
from sklearn.naive_bayes import MultinomialNB

# Sample data
texts = [
    "I love this movie",
    "This is terrible",
    "What a great experience",
    "Worst product ever",
    "Absolutely fantastic",
    "I hate this"
]
labels = ['positive', 'negative', 'positive', 'negative', 'positive', 'negative']

# Convert text to vectors
vectorizer = CountVectorizer()
X = vectorizer.fit_transform(texts)

# Train/test split
X_train, X_test, y_train, y_test = train_test_split(X, labels, test_size=0.3, random_state=42)

# Train model
model = MultinomialNB()
model.fit(X_train, y_train)

# Test model
sample = ["I really enjoyed this!"]
sample_vector = vectorizer.transform(sample)
prediction = model.predict(sample_vector)

print("Prediction:", prediction[0])
Step 4: Run It
Run the file:
python sentiment_ai.py
You’ll see something like:
Prediction: positive
That’s your AI in action. Real AI. Real Python. Real results.
Step 5: Make It Yours
Try modifying the script:
- Add your own text samples
- Test with different sentences
- Train it with more data from CSV files
- Use
joblibto save the model and reuse it later
Every tweak you make grows your skill. This is how developers get good—by playing, breaking, fixing, and learning.
Why This Script Works (The Secret Sauce)
Here’s what’s happening behind the scenes:
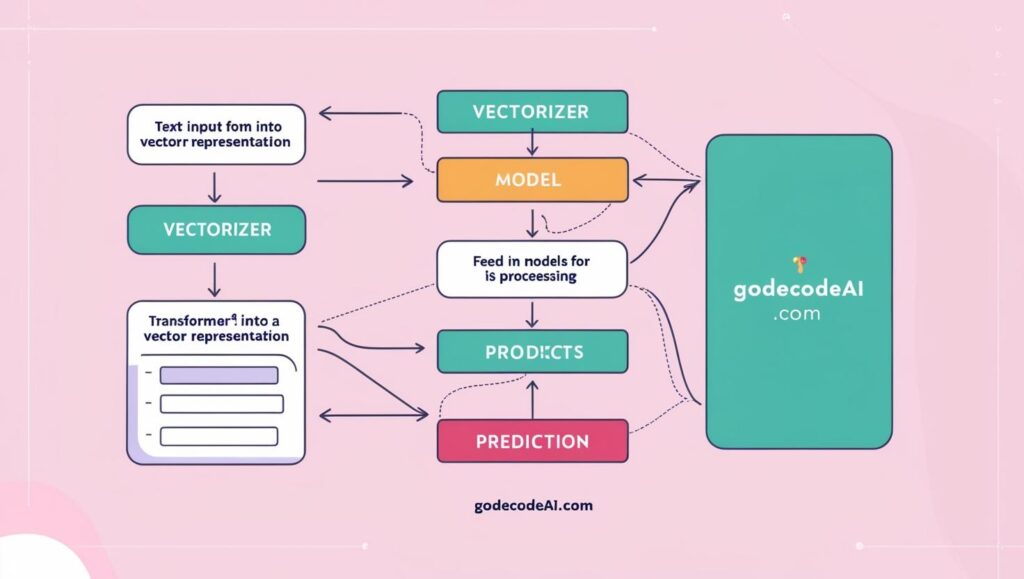
- Text → Numbers:
CountVectorizerturns words into numbers the AI can understand. - Naive Bayes: A fast, effective algorithm that’s great for text classification.
- Training: The model learns patterns from sample text.
- Prediction: It uses those patterns to guess sentiment on new inputs.
This is real machine learning in action—without diving into advanced math or complex frameworks.
My First AI Experience (A Quick Story)
When I built my first AI project, I was clueless. I followed a tutorial just like this one. I remember changing one sentence and watching the prediction change. That feeling of “I just built this”—it was addictive.
Don’t underestimate these small wins. They compound fast.
What’s Next?
Now that you’ve built a sentiment analyzer:
- Try building a spam detector
- Explore
scikit-learn‘s other models likeLogisticRegression - Learn about model accuracy and confusion matrices
- Move to real datasets (try loading CSVs with
pandas)
Each step takes you deeper.
Final Thoughts
Writing your first AI script isn’t about being a genius. It’s about starting.
This script gave you:
- A working machine learning model
- Hands-on experience with Python libraries
- A mental shift: AI isn’t some far-off thing—it’s a tool you can use right now
And the best part? You’re just getting started.
FAQs
Q: Can I do this without any math background?
Yes. This guide avoids heavy math. Focus on code first—math can come later if you want.
Q: Do I need a powerful computer?
No. This runs on most laptops. No GPU or cloud needed.
Q: Can I use this for real apps?
Yes, for small-scale tasks. For larger datasets, you’ll need more training data and model tuning.


